
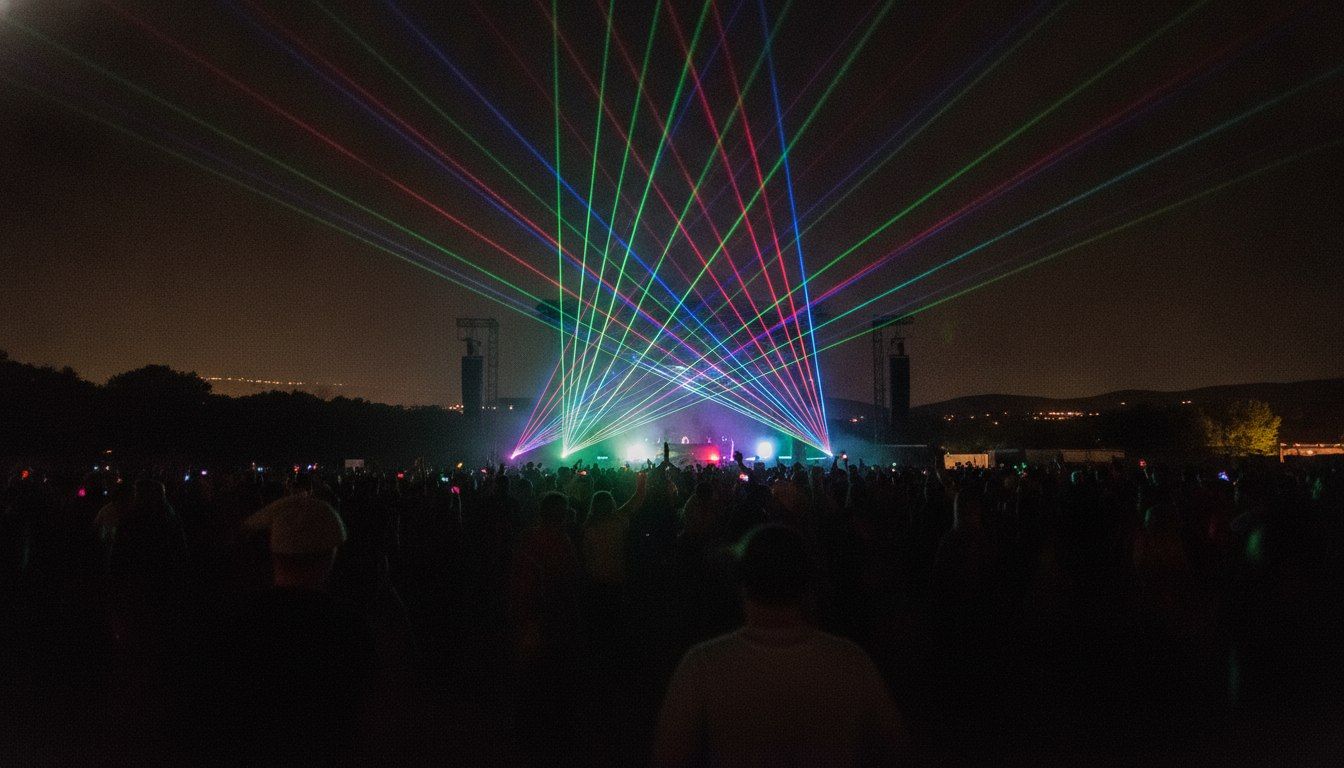
Laser shows are having a moment in New Zealand. Whether it’s a backyard party, a bar wanting to lift its weekend nights, a wedding that wants a dancefloor people remember, or a full outdoor festival stage, nothing transforms a space like a proper laser show. The good news: you don’t need to hire a production company every time. Modern laser show systems are affordable, compact and genuinely easy to run once you understand a few fundamentals. We’ve been supplying and setting up laser show systems across NZ for years, and this guide collects everything we’ve learned into one place – choosing the right unit, ILDA versus DMX, scanning speeds, placement, safety, and what it all costs. Settle in, this is the complete guide.
What’s Actually In A Laser Show System?
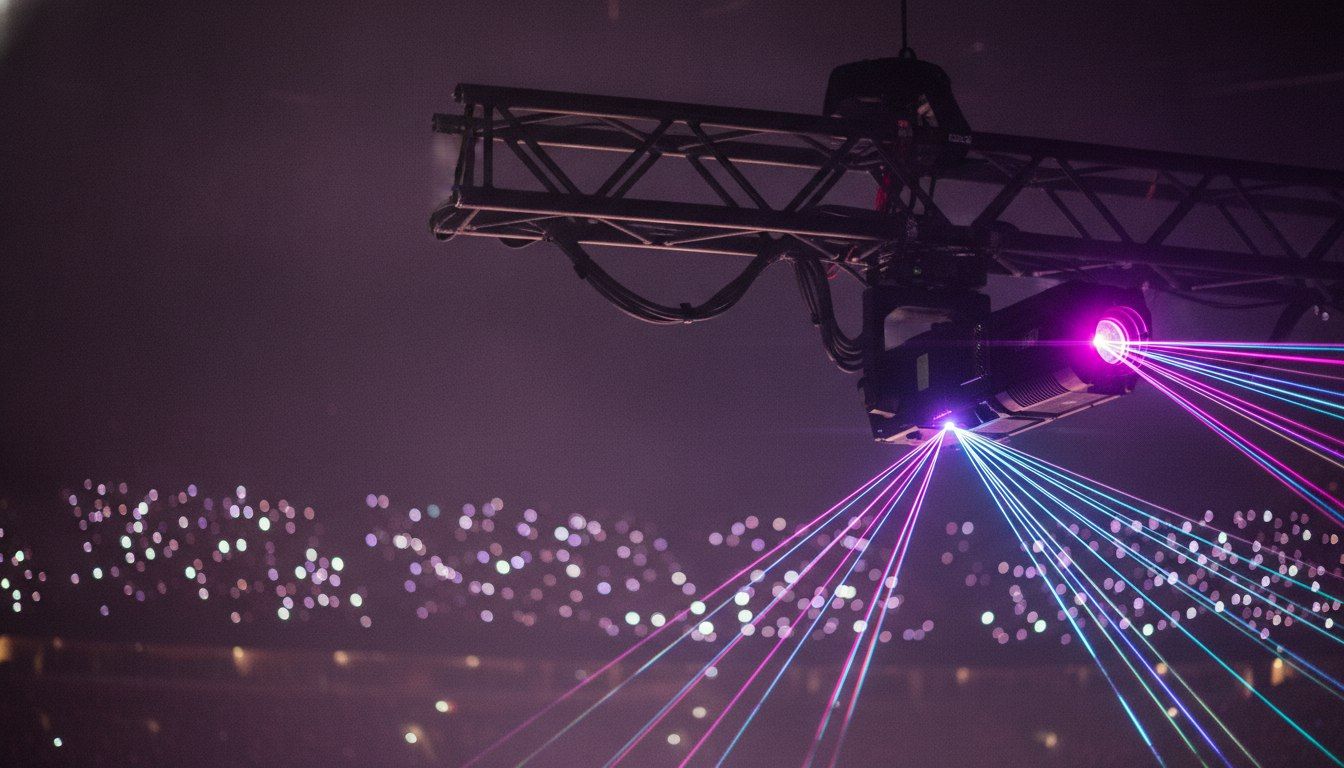
At the core is the laser itself: Light Amplification by Stimulated Emission of Radiation. That mouthful means coherent, focused beams of light that can be steered with astonishing precision. Inside a modern unit you’ll find laser diodes producing the light, and a scanning system – a pair of tiny, fast-moving mirrors – that deflects the beam to draw patterns, animations and effects in the air or on surfaces.
Most systems worth owning are RGB: they contain three individual lasers, one red, one green and one blue, which mix to produce the full colour spectrum. A quirk worth knowing: the wattage on the box is the combined total. A 3 Watt RGB system might be three 1 Watt lasers, and the split often isn’t even – blue diodes usually get a higher share to keep blues vivid and strong. That’s normal and by design.
What Size Laser Do You Need?
This is the first question we get asked, and the answer is all about your space. Bigger is not automatically better – an overpowered laser in a small room is unpleasant and unsafe, and an underpowered one outdoors just disappears. Here’s the sizing guide we use:
- Home setups and small rooms: 3 Watts or less. Even half a watt does plenty in a lounge. A 3 Watt Laser Show System is the sweet spot for home use.
- Bars, pubs and small venues: 3 to 5 Watts is optimal, anything under 10 Watts works.
- Large pubs, halls and small warehouses: 5 to 15 Watts.
- Big warehouses and outdoor events: 10 Watts is the realistic minimum, 15 Watts is better, and 30 Watts is the weapon of choice for large outdoor spaces and stadium-scale shows.
The second thing to think about is symmetry. A single laser unit rarely creates the captivating, immersive experience we’re chasing – you want at least two, and if you run more you can drop the power of each individual unit. For a medium space with high ceilings, two 15 Watt units either side of the stage works, but four 10 Watt units (two per side, or two front and two rear) gives a fuller, more even show. Let the shape of your space and symmetry guide the count.
ILDA vs DMX: How You Control A Laser
Two protocols govern laser control, and almost every laser supports at least one of them. Understanding the difference tells you which kind of operator you’re going to be.
DMX (Digital Multiplex) is the standard that stage lighting already speaks. A DMX-controlled laser behaves like any other lighting fixture: it holds a library of pre-programmed patterns, and your lighting desk or controller calls them up and adjusts size, position, colour and speed. It’s simple, it’s compatible with existing lighting rigs, and for a sound-active pub show or a mobile DJ it’s all you need.
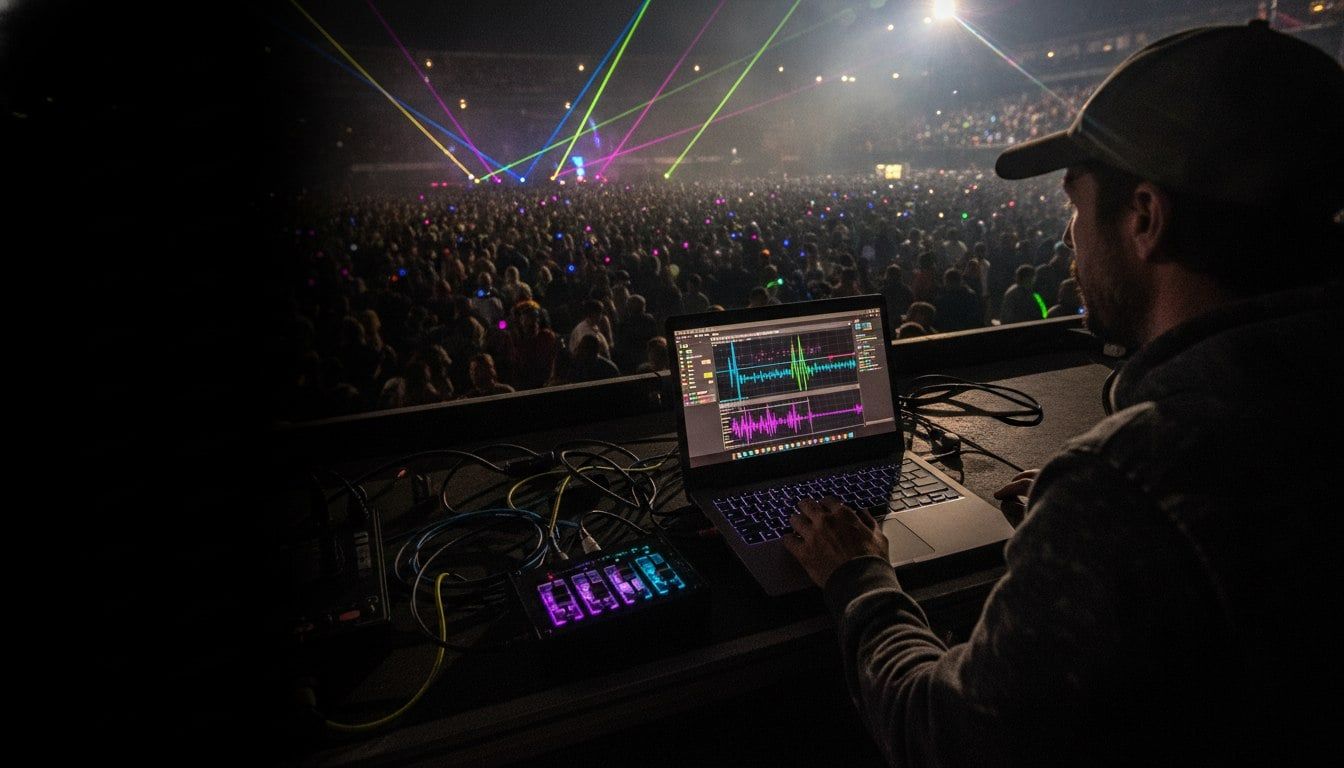
ILDA (International Laser Display Association) is the standard for serious laser display work. An ILDA-controlled laser is driven live by a computer running laser software, which sends the actual images to the projector and takes direct control of the X/Y scanners. That means unlimited custom graphics, text, animations and beat-perfect synchronisation with music. It’s the difference between choosing from a jukebox and playing the instrument yourself.
The short version: DMX for simplicity and integration with a lighting desk, ILDA for creative control and proper choreographed shows. Many units support both, so you can start on DMX and graduate to ILDA when you’re ready – and if you’re building towards intricate custom shows, ILDA is the superior choice.
Scanning Speeds Explained
Scanning speed is the spec that separates a crisp, detailed laser show from a flickery one. It’s measured in points per second – you’ll see it written as kpps, thousands of points per second – and it describes how fast the mirrors inside the scanner can move the beam. The faster the mirrors, the more points drawn per second, and the smoother and more intricate the projected image.
As a rule of thumb, detailed graphics and legible text want a scanning system capable of at least 25kpps at the 8 degree ILDA standard. Beam shows – the classic fans and sweeps over a dancefloor – are far less demanding, because the effect is about movement through haze rather than image fidelity. Two factors trade off against each other here: smaller mirrors move faster, and wider scan angles force the mirrors to slow down to stay precise. If graphics matter to you, buy for scan speed; if it’s all about beams in the air, you can relax on this spec.
Setting Up Your Laser Show
Here’s the full control chain for an ILDA setup, from computer to beam. You need a PC running laser show software (iShow, QuickShow and Beyond are the big names), an ILDA dongle plugged into USB, and a cable run from the dongle to the laser’s ILDA port. Then it’s a matter of configuring the software to recognise the projector, calibrating colour balance and scan speed, and building your show from cues and sequences – start with the pre-designed content, then experiment with your own.
One insider tip that saves real money: dedicated ILDA cables are thick, robust and expensive, especially over distance. The smart alternative is ILDA to RJ45 converters, which let you run ordinary Ethernet cable between the dongle and the laser instead. We stock ILDA cables from 10 to 100 metres as well as the converters, and we’ve written a full explainer on the cost-effective magic of ILDA to RJ45 converters if you want the details.
Before any event: run the whole show start to finish, check alignment and animation smoothness, confirm every beam path stays where it should, and make sure whoever is operating knows how to pause the show instantly. After the event, pack everything down carefully and inspect for wear – laser gear that’s looked after lasts for years.
Placement And Safety
Safety is not the boring part of laser shows, it’s the part that keeps you running shows next year. Lasers can absolutely cause eye damage, even at surprising distances, so these rules are non-negotiable:
- Mount above head height. Beams belong above the audience’s eye level – at least 3 metres above any area the public can reach is the standard we work to.
- Never aim beams at people. No audience scanning, and watch for reflective surfaces (mirrors, windows, polished bars) that can redirect a beam into the crowd.
- Use haze or fog. This is a safety feature as much as an effect: haze scatters the beam and makes it gloriously visible at lower, safer power levels.
- Wear eye protection during setup and alignment – that’s when you’re closest to the beam path.
- Check your venue’s and council’s requirements before a public event, especially outdoors. Requirements vary, and it’s on the operator to know them.
For placement beyond safety: angle your projections to complement the event. Sweeping patterns across the stage for performances, static textures on walls and ceilings for ambience, and balanced brightness so the lasers are vivid without overwhelming everything else the lighting rig is doing.
Outdoor Laser Shows In NZ
Outdoor is where lasers become truly spectacular, and where New Zealand’s conditions demand a bit of extra planning. Power matters more outside – this is 10 Watt minimum territory, 15 to 30 Watts if you’re covering a real crowd. Timing matters too: lasers earn their keep from dusk onwards, so plan your show around the light, and adjust intensity as full darkness settles in.
Outdoors you lose the contained haze of a venue, so bring more atmospheric support than you think you need – haze machines positioned upwind do the job beautifully. Layer your lasers with the rest of the production: LED walls, moving heads and pyro all gain depth when laser beams cut through above them. Cover the space evenly rather than concentrating beams in one spot, sync everything to the music, and use a well-timed laser moment to hit the beat drops. That’s the stuff people film and post, and it’s what makes an outdoor show in a paddock feel like a festival mainstage.
3D Mapping And Projection Effects
Once you’ve mastered beams and graphics, projection mapping is the next frontier. 3D mapping projects imagery onto irregular surfaces – buildings, stages, sculptures, even trees – turning the structure itself into part of the show. The surface is scanned or measured, content is built to match its geometry, and the projection is calibrated so light lands exactly on the features it’s designed for. Combined with lasers, mapping produces those moments where a stage seems to crumble, ripple or come alive. It’s production-level work, but it starts with the same fundamentals covered above, and it’s a great reason to buy gear that supports full ILDA control from day one.
What Does A Laser Show System Cost?
Less than most people expect. A quality home unit costs about the same as a decent Bluetooth speaker, and even show-grade outdoor units are within reach of a crew who split the cost – which is exactly how a lot of NZ doof crews do it. Our range runs from compact 3 Watt systems up to 30 Watt monsters, including app-controlled units you can drive from your phone without any extra hardware. Browse the full Laser Projectors range, or start with these two favourites:
3 Watt App Controlled Laser Show System
Command the stage right from your phone. This 3W RGB Laser gives you total VJ control—type custom text, draw graphics, and sync to the beat to create a mind-blowing light show that defines the night.
Our guarantees
- Free returns
- Refunded if your package is lost
- Refunded if items arrive damaged
- Refunded if it does not arrive within 30 days
- Secure payments
- Free worldwide shipping (some remote addresses cost extra, and we always ask first)
- NZ owned and operated
- Satisfaction guaranteed
12 Watt App Controlled Laser Show System
Command the dance floor right from your phone. This 12W RGB laser gives you total control to type text, draw graphics, and launch insane light shows via Bluetooth app. Feel the power of a professional VJ in your hands.
Our guarantees
- Free returns
- Refunded if your package is lost
- Refunded if items arrive damaged
- Refunded if it does not arrive within 30 days
- Secure payments
- Free worldwide shipping (some remote addresses cost extra, and we always ask first)
- NZ owned and operated
- Satisfaction guaranteed
Hire A Laser Show Company, Or Run Your Own?
If you’re searching for a laser show company in NZ for a one-off corporate event, hiring can make sense. But if lasers are going to be part of your venue, your parties or your crew’s events more than once or twice, owning your own system wins on every axis: it pays for itself in a couple of events, you learn a genuinely fun skill, and your shows get better every time because the gear is yours to practise on. That’s the route we help people take every week – and if you have any questions about lasers, laser show systems or safety, don’t hesitate to contact us. We’ll gladly advise on the best and safest setup for your space.
Check out our Stage Equipment range to get started, and don’t forget to sign up for our newsletter for 10% off everything in the store. Shine on beautiful people!